How to Use a Meat Thermometer in Your Kitchen?
Cooking meat to just the right stage is both a science and an art. While seasoning, browning, and technique all play a role in taste, perhaps one of the most important keys to getting it just so—especially when it comes to safety and consistency—is the meat thermometer. Whether you are new to the kitchen or a seasoned home cook, learning to use a meat thermometer can be a game-changer in your approach in the kitchen.
So, how does it work, and how do you use it correctly? This guide contains everything you need to know about using a meat thermometer, why you need it, and how the best wireless meat thermometer can make it even easier.
Why a Meat Thermometer Matters
Employing a meat thermometer is among the best methods for achieving safe, uniform, and high-quality cooking outcomes. Grilling, roasting, air frying, or slow-cooking, a thermometer gives you important control over food doneness. Here’s why it’s important:
1. Guarantees Food Safety
Raw meat can contain dangerous bacteria like Salmonella, Listeria, or E. coli. A thermometer ensures that meat achieves the recommended internal temperatures:
- Poultry: 165°F
- Ground meats: 160°F
- Whole cuts of beef, pork, lamb: 145°F (with rest time)
2. Reaches Desired Doneness Precisely
Visual cues such as color or texture can be misleading. A thermometer allows you to consistently reach your desired doneness:
- Rare: 120–125°F
- Medium-rare: 130–135°F
- Medium: 135–145°F
- Well-done: 160°F+
3. Avoids Overcooking
Meat that is overcooked will dry out or become tough. Having a thermometer means you can take food off the heat at the perfect time, taking carryover cooking into consideration, and preserving moisture and flavor.
4. Encourages Consistency Throughout Meals
A thermometer enables you to reproduce results consistently. Cooking for yourself or for company, you can provide the same quality each time.
5. Creates Confidence in the Kitchen
Knowing the exact internal temperature dispels uncertainty. It gives novice and experienced cooks additional control and precision with their cooking process.
6. Flexibility Beyond Meat
Though used primarily on meat, a thermometer is also worthwhile for:
- Probing water temperature for baking (yeast activation)
- Probing the oil temperature for frying
- Probing liquids in candy making or tempering chocolate
Types of Meat Thermometers
There are a few different types of meat thermometers, each with its own strengths:
These give quick readings when inserted into the thickest part of the meat. They’re best for quick checks toward the end of cooking.
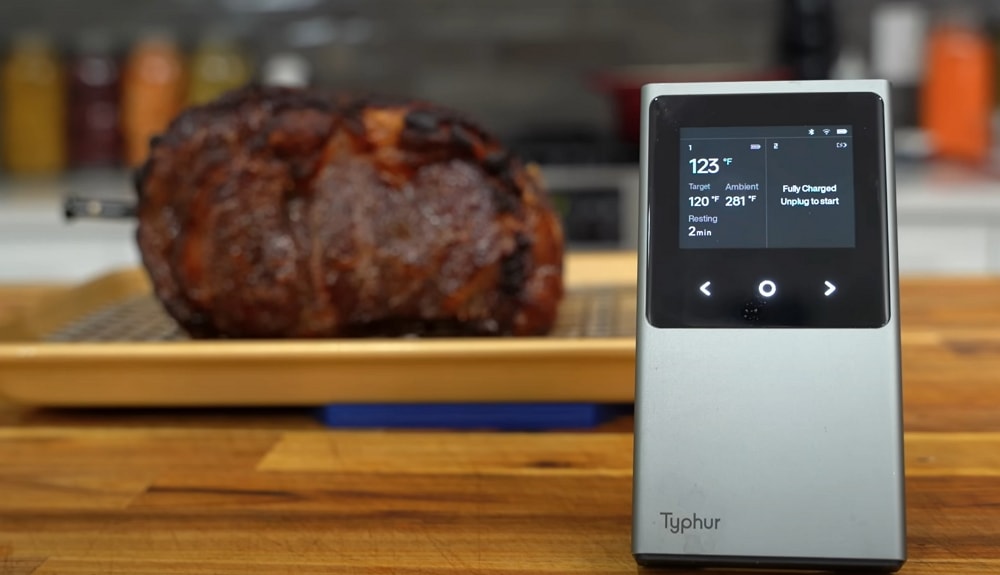
Smart wireless meat thermometers:
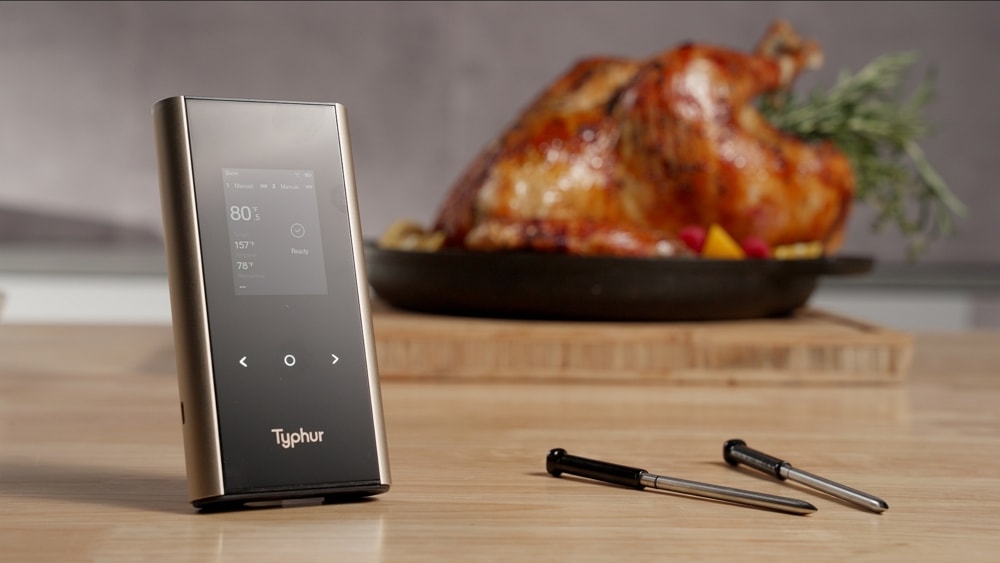
A modern evolution, the best wireless meat thermometer allows you to monitor temperatures from your phone or a remote device. These are especially useful for grilling, smoking, or roasting large cuts over longer periods.
How to Use a Meat Thermometer: Step-by-Step Guide
1. Know Your Target Temperatures
Different types of meat require different internal temperatures for safety and optimal taste. Here are a few general guidelines:
- Chicken and turkey (whole or ground): 165°F (74°C)
- Beef, lamb, veal (steaks, roasts): 145°F (63°C) with 3-minute rest
- Ground meats (except poultry): 160°F (71°C)
- Pork: 145°F (63°C) with 3-minute rest
- Fish: 145°F (63°C)
These are USDA recommendations and are designed with safety in mind.
2. Insert the Thermometer Properly
Always insert the probe into the thickest part of the meat, away from bone, fat, or gristle. In poultry, that’s typically the inner thigh. In steaks or roasts, it’s the center of the thickest area.
With instant-read thermometers, you can insert and remove quickly. For leave-in or wireless thermometers, insert before the cooking process starts and monitor throughout.
3. Don’t Rely on Color Alone
Many people think that meat is done when it “looks” right. But color isn’t always a reliable indicator. For example, ground turkey may look fully cooked while still being under safe temperatures. That’s why a thermometer is essential—it tells the truth when appearances can’t.
4. Allow for Rest Time
Some meats continue to cook after being removed from heat. This is called “carryover cooking.” Pulling a roast or steak a few degrees before it hits the target temperature allows it to reach the ideal doneness without drying out.
5. Clean After Every Use
To prevent cross-contamination, always clean your thermometer with hot, soapy water after each use, especially when switching between different types of meat.
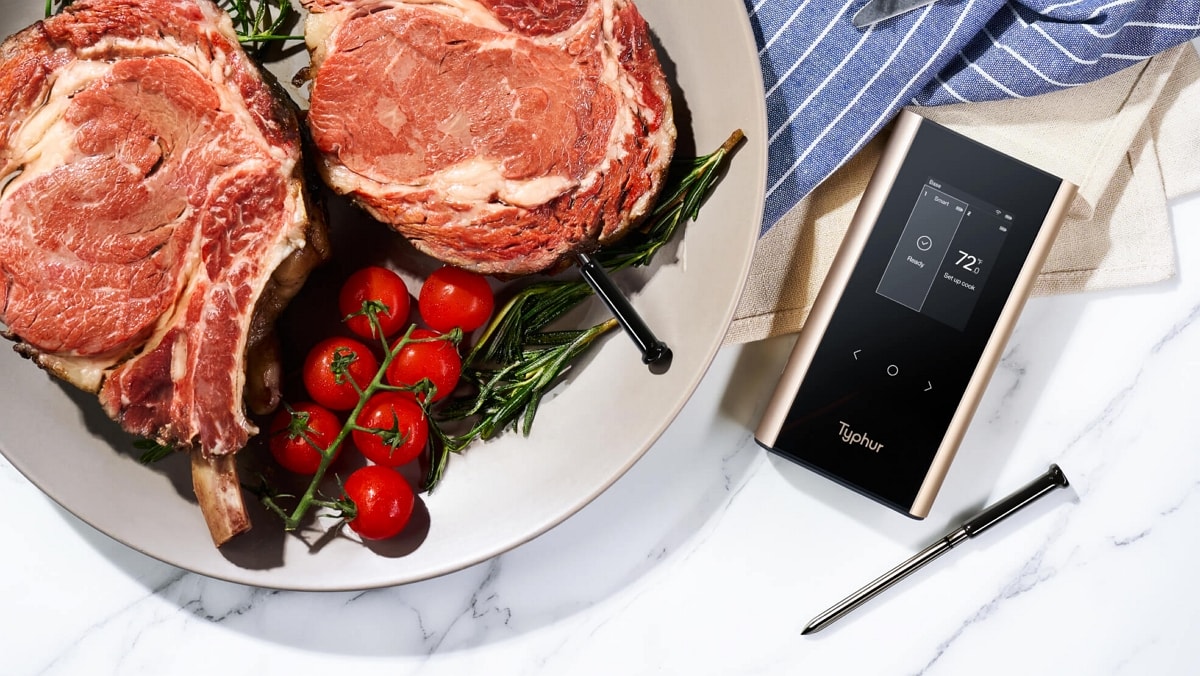
Benefits of Using a Wireless Meat Thermometer
While traditional thermometers get the job done, the convenience of going wireless can make the entire process smoother. The best wireless meat thermometer gives real-time updates, sends alerts, and lets you monitor temperatures remotely—perfect when you’re multitasking or hosting guests.
It’s especially helpful for:
- Smoking or slow roasting: You don’t have to open the grill or smoker constantly.
- Multi-dish cooking: Keep an eye on the meat while prepping sides.
- Meal consistency: Cook different types of meat to perfection without babysitting the oven.
Using technology doesn’t mean sacrificing intuition; it just gives you better information to work with.
Tips for Better Results
- Calibrate your thermometer regularly to ensure accuracy.
- Avoid repeatedly poking the meat, which can release juices.
- Take multiple readings if the meat has uneven thickness.
- Use it for more than meat—thermometers are great for baking, candy making, and even reheating leftovers to a safe temperature.
Final Thoughts
A meat thermometer is one of the simplest and most effective tools you can use in your kitchen. It promotes food safety, improves consistency, and helps you cook with confidence. Whether you opt for a traditional model or invest in the best wireless meat thermometer, you’ll notice the difference in your meals right away.

We create powerful, insightful content that fuels the minds of entrepreneurs and business owners, inspiring them to innovate, grow, and succeed.